Every leather vest tells a story. For bikers, travelers, and club members, each patch represents a memory, a ride, or a proud identity. Whether it is your first ride or your hundredth, those patches make your vest unique. But here is the challenge: attaching patches to a leather vest is not as simple as sewing on regular fabric. Leather is tough, and the wrong method can easily ruin it.
Do not worry. In this step-by-step guide, you will learn exactly how to sew patches on a leather riding vest the right way. With the right tools, a little patience, and some simple tricks, you can make your vest look as sharp and timeless as your favorite leather jackets.
1. Tools and Materials You Will Need
Before you begin, make sure you have the proper tools. Sewing on leather requires strong materials that can handle the thickness of the surface. Here is what you need:
-
Leather sewing needle
-
Nylon or polyester thread
-
Thimble
-
Ruler and chalk pencil
-
Clips or masking tape
-
Awl or small hole punch
-
Leather conditioner
Optional: A leather sewing machine can be helpful if you have one, especially for large patches.
Preparing the Leather Vest and Patch
Before sewing, always prepare your vest and patch properly.
Clean the Leather Surface
Wipe the vest with a soft cloth to remove dirt or oils. Once it dries, apply a small amount of leather conditioner. This prevents cracking while you sew.
Choose the Perfect Spot
Decide where you want your patch to go. Many people prefer the back center for large designs and the chest or shoulder area for smaller patches. Try the vest on and use chalk to outline the area before sewing.
Secure the Patch
Use masking tape or clips to hold it in place. Avoid using sharp pins because they can leave permanent holes in your vest.
3. Different Ways to Attach Patches
Hand Sewing
Hand sewing gives you more control and precision. It is the best method for small patches or detailed shapes.
Machine Sewing
If your vest is made from soft or thin leather, a sewing machine with a leather needle can make the job faster. However, test it on a small piece first to adjust the settings.
Other Options
You can also use fabric glue or Velcro, but these options are less durable. Iron-on patches are not suitable for leather because heat can damage the surface.
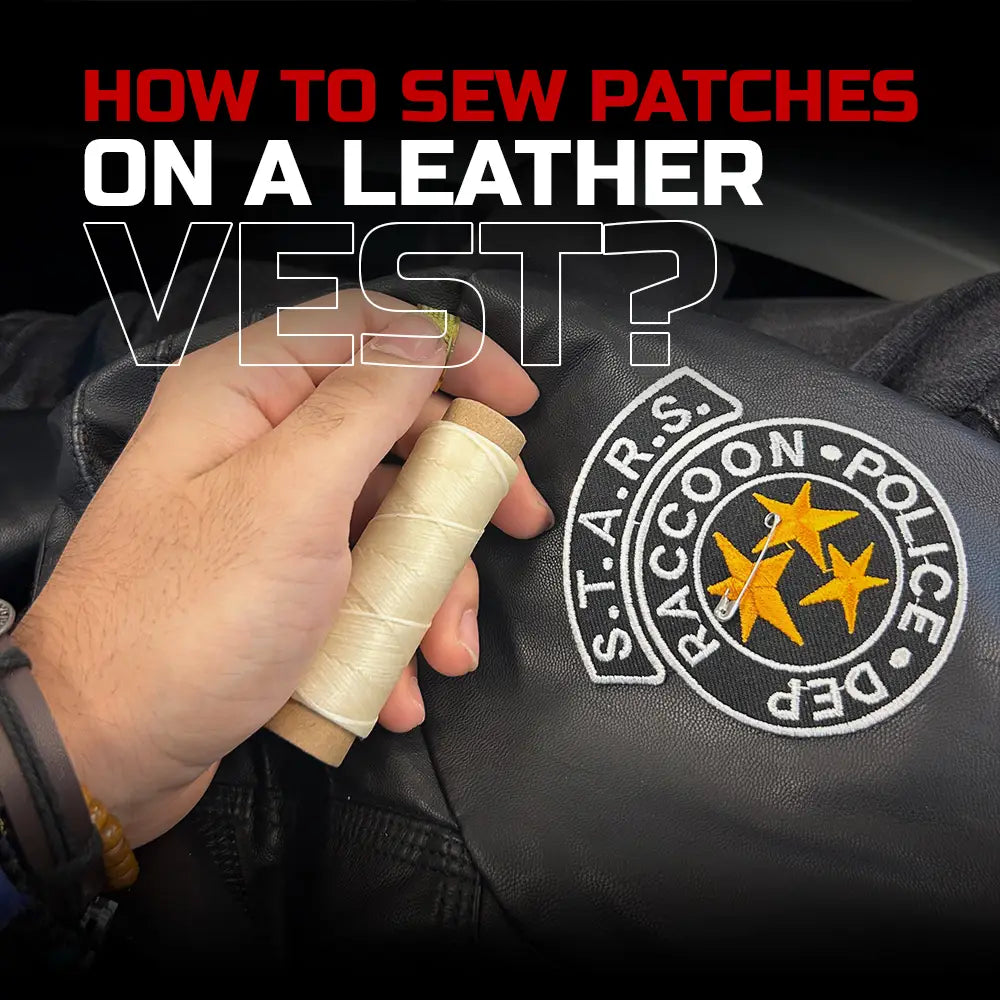
Step-by-Step: How to Sew Patches by Hand
Follow these steps to make sure your patch stays on firmly and looks professional.
Step 1: Position the Patch
Place the patch where you want it. Secure it carefully with tape or clips.
Step 2: Make Small Holes
Use an awl or a small punch tool to make tiny guide holes around the patch’s border. This helps the needle pass through smoothly.
Step 3: Thread the Needle
Use strong nylon or polyester thread. Cut about two feet of it and tie a firm knot at one end.
Step 4: Begin Sewing
Start from inside the vest so the knot stays hidden. Sew around the patch slowly, using a running stitch or saddle stitch. Keep your stitches even and tight.
Step 5: Finish Strong
When you reach the end, tie a strong knot on the inside and trim the extra thread. You can add a drop of fabric glue on the knot for extra strength.
When you wear your leather vest with confidence, especially alongside your leather riding boots, the result will always stand out.
Tips for Sewing with a Machine on Leather
If you use a sewing machine, keep these tips in mind:
-
Use a leather or denim needle for strong stitching
-
Choose a thick polyester thread
-
Set your machine to a longer stitch length (around 3 mm)
-
Sew slowly for better control
-
Use a Teflon presser foot so it glides easily over the leather
Do not backstitch directly on leather because it can tear. Instead, tie your threads by hand to lock the stitch securely.
Caring for Your Leather Vest After Sewing
After sewing, gently apply leather conditioner to the stitched area. This keeps the leather soft and prevents cracks. Never wash your leather vest in a washing machine. Instead, clean it with a soft, damp cloth and let it dry naturally.
You can also store your vest alongside your other motorcycle gear in a cool, dry place to protect it from moisture. If you notice any loose stitches, fix them right away to avoid damage.
Common Mistakes to Avoid
Many people make small errors that can damage their vest. Here are some to avoid:
-
Using regular cotton thread, which breaks easily
-
Forgetting to punch guide holes before sewing
-
Pulling the stitches too tightly, which can cause wrinkles
-
Not practicing your stitch on a spare piece of leather first
Taking time to do it carefully will help you avoid these problems.
Patch Placement and Style Ideas
When adding patches, think about how you want your vest to look.
-
Back area: Perfect for a large centerpiece patch, such as a club logo.
-
Front chest: Ideal for name tags or small symbols.
-
Shoulders or sides: Great for flags, slogans, or designs that show personality.
You can even match your patch colors to your road-ready leather jacket or biker boots to create a complete, bold look. This way, your whole outfit tells a story every time you ride.
When to Get Professional Help
If your vest is made of thick leather or your patch is large and detailed, consider visiting a leather repair shop. Professionals have the right equipment and experience to do clean work without damaging your vest.
A professional job usually costs between ten and thirty dollars per patch, depending on size and detail. It is worth it if you want a perfect finish.
Final Words
Learning how to sew patches on a leather vest gives you the freedom to personalize your look. Each patch can represent a memory, a belief, or a journey. When done with care, it becomes a part of your vest that lasts for years.
With your patches in place, your leather vest will look even better alongside your favorite leather jackets and other motorcycle gear. It is not just clothing, it is your identity, your pride, and your story stitched in every thread.